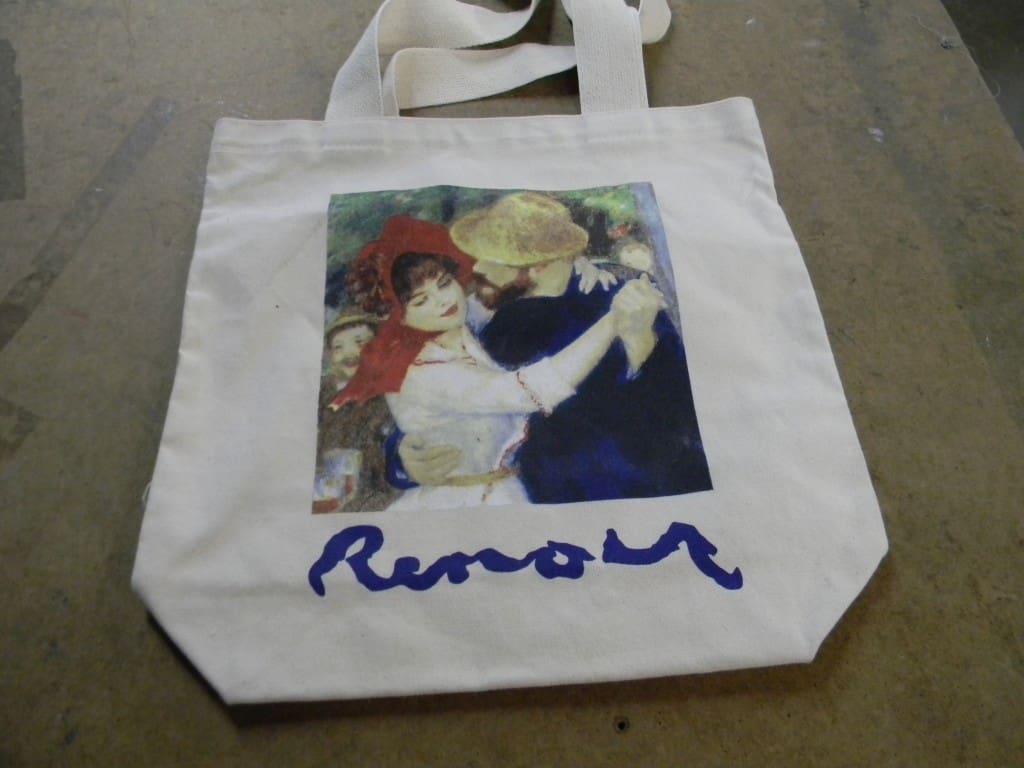
There are a wide variety of types of canvas bags out there in the world. They are all waiting to be decorated by the screenprinter. There are specifications of all the fabrics in terms of weight, weave, etc. In my many years of buying canvas totes and even working directly with companies that are manufacturing bags : in plain English, it is mostly bullshit. In fancier terms, there is little standardization of description. If I knew what the various fabrics were called it would do no good because the suppliers would still not know what I was asking for. Terms like smooth weave, duck, plain weave, twill, etc. seem only to confuse not explain.
Just on the term “duck” consider what Wikipedia has to say about it: “Duck is classified according to weight in a numerical system, with grade 1 the heaviest and grade 12 the lightest variety. Besides this, traditional names exist, which are rarely used today.
A numbering system is used to describe the various weights of duck cloth, based on the weight of a 36×22-inch piece. Weights below 19 ounces are called numbered duck. The grade of numbered duck refers to the number of ounces subtracted from 19 for a 36×22-inch piece of fabric. For example, a piece of #8 numbered duck with dimensions of 36″×22″ weighs 11 ounces (19 − 8 = 11); those above 19 ounces are called naught duck.[3]
Numbered duck is nominally made in weights from 1 to 12, but numbers 7, 9, and 11 are no longer used. Some typical uses of various grades (with weights in ounces) are….”
Got that straight?
The only consistent measurement that anyone seems to understand is the fabric weight with the usual range in canvas from 6 ounce to 22 ounce. So the conclusion I have made is that you had better get a sample of the bag in order to know what you are getting into because the descriptions are not that helpful.
The variables that seem to affect the printability most are the weight, the coarseness of the weave of the fabric, and any finishes that may be added to the fabric. Starches and other substances are applied to even organic cotton bags, and this affects how the ink will bond to the surface of the bag. So when you get your sample bag, here are some things to consider:
- Either with additives like base or by choice of a “soft” ink get an ink that flows and will fill the coarse weave or can be driven into the fabric so the surface won’t affect the adhesion.
- Add a bonding catalyst, which is usually for nylon bags, but can actually be used to help any ink bond to the surface it is applied to. You can even add more than your ink company recommends when you are really having problems with adhesion. Fear not, I’ve added 5 times what they recommend and it will make the ink hard and it will stick. Apparently it isn’t technically “cured” but if it won’t scratch off and it won’t wash off, so who cares if it is technically “cured.”
- Add curable reducer, which effectively lowers the pigment percentage, and can help with a complete cure and will often also improve how the ink crocks (so the ink from the bag won’t rub on to some fine lady’s white pants at the beach.)
- Run the bags through the dryer once or even twice before you print them. Canvas can absorb moisture like a sponge. It won’t feel wet to the touch and there is no simple test to tell you if your canvas has a high moisture content. Put your bags made of heavy canvas in a damp truck for a couple days and you are printing a bag that will make it very difficult to get ink to cure. What happens is that the moisture evaporates which cools the bag and keeps the film of ink from getting hot enough to cure. The solution is to put the canvas through the oven before printing.
- Some bags come with a crazy amount of lint. I know people try screens with double-sided tape and all kinds of wacky methods. I don’t know any printer that consistently gets good results in those conditions in trying to remove the lint. Instead of removing it, try printing a clear base or thin white coat first and sealing in the lint. Don’t forget to charge more if the bags are very linty or have lots of loose threads.
- Here’s a non-printing tip. Many states don’t tax clothing, don’t forget in such situations that bags are not clothes and you may have to collect and pay sales tax.
- Make sure your bags will fit on your existing platens. Bags usually won’t stretch at all. A bag that is 15 inches across does not necessarily go on a platen that accepts a 15-inch wide shirt.
- Consider laying down more ink than you would on a shirt. Nobody is wearing the bag, so you don’t have to worry about how it feels on the inside.
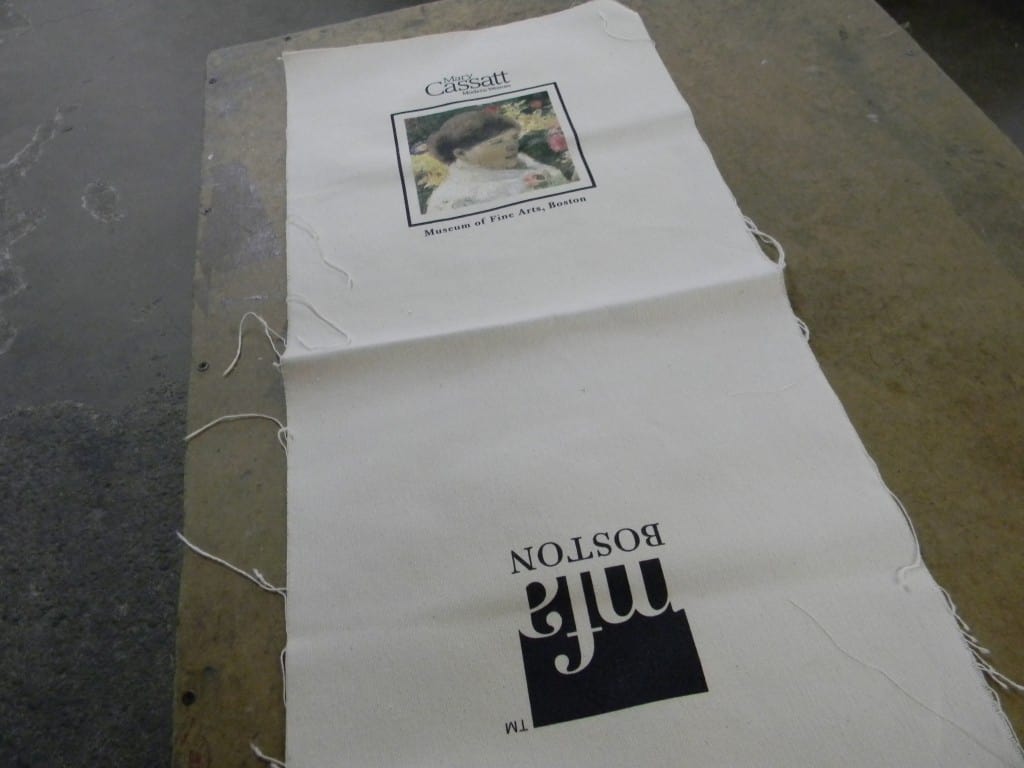
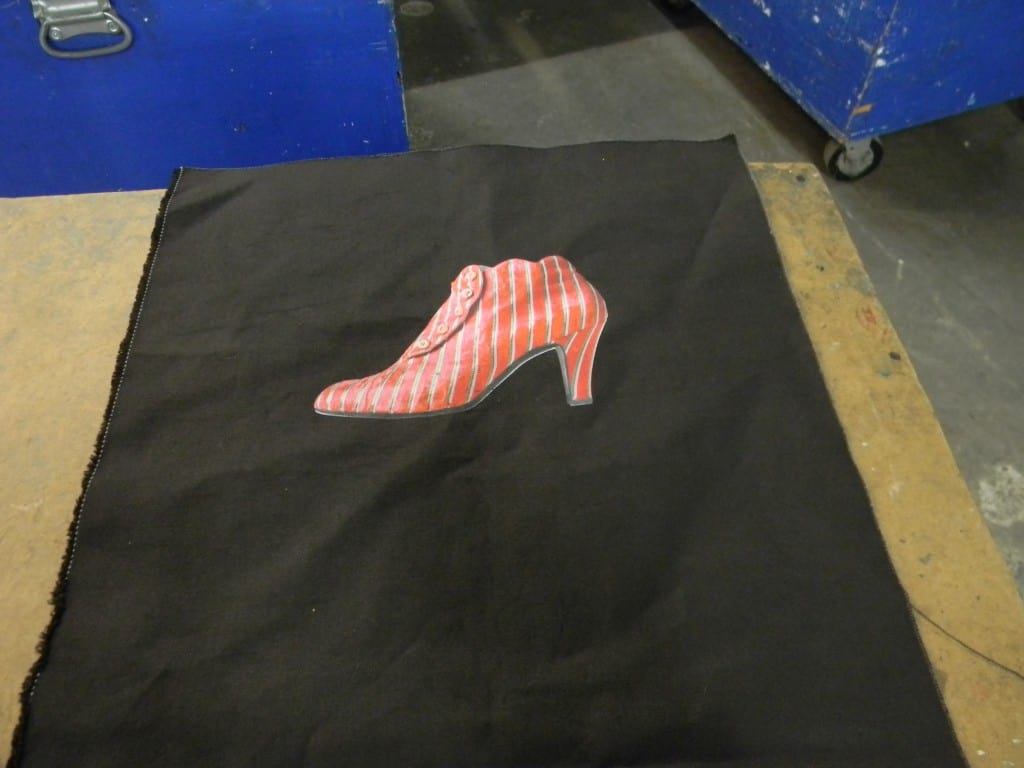
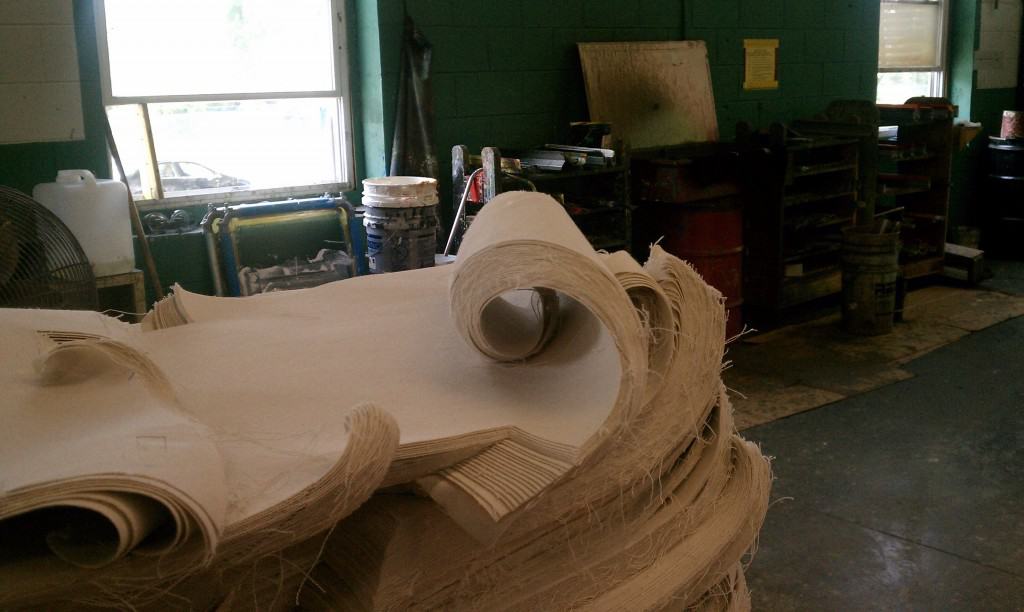
- If you have a local bag manufacturer you can get canvas panels and print before the bag is made. This allows you to gang up the work when printing the same image on tote bags and shirts. If you do finished bags you would have to turn your screens around and its pretty much like printing a new job.
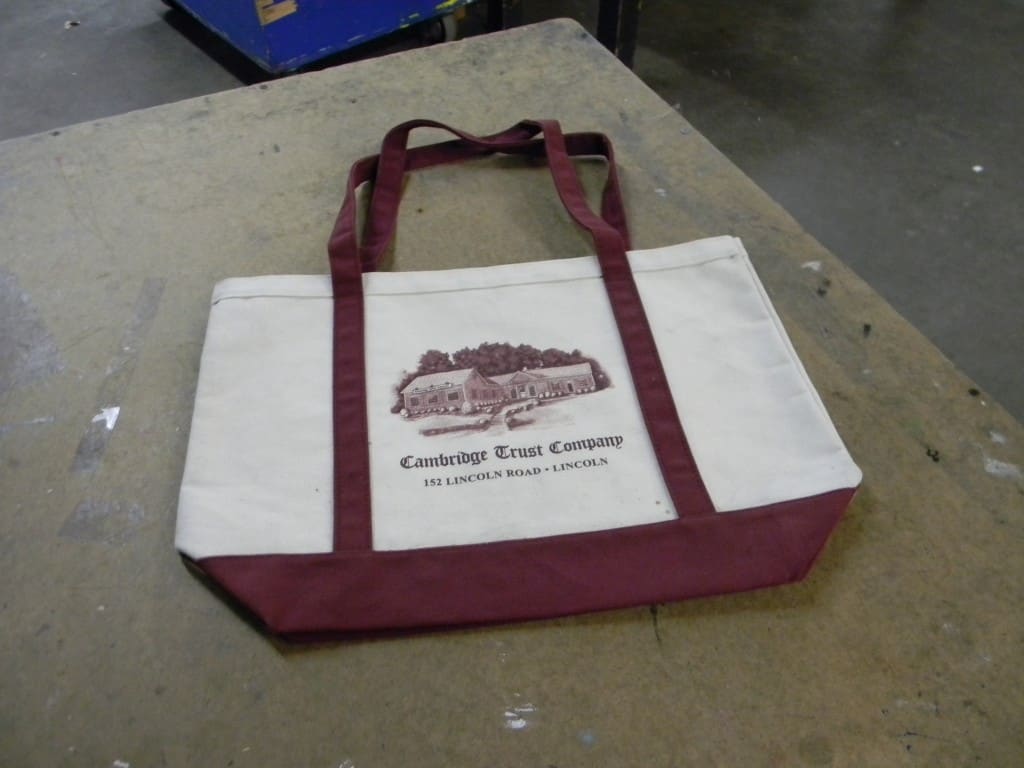
- If you are printing between the handles that run down the side of a boat tote, leave room so the squeegee won’t ride up on the handles and cause a misprint. And don’t trust one sample, hard working real people sew those handles on and there is inevitably variation on the gap between handles.
- Since canvas bags are often used for environmental reasons, consider directing your customers to organic cotton bags, and consider using greener inks when printing them, such as High Solid Acrylic inks.
Once you figure out how to print them, they are a great thing to sell to customers. Tell them that the advertising value of a great bag is daily use and of a t-shirt is only as often as you do laundry.

Comments