We print a lot of canvas bags and in particular for made in USA companies who send us the canvas to print before they are sewn. We have printed everything from 6 ounce to 22 ounce and all kinds of weaves. We recently screwed up an order and it reminded me of everything that can go wrong.
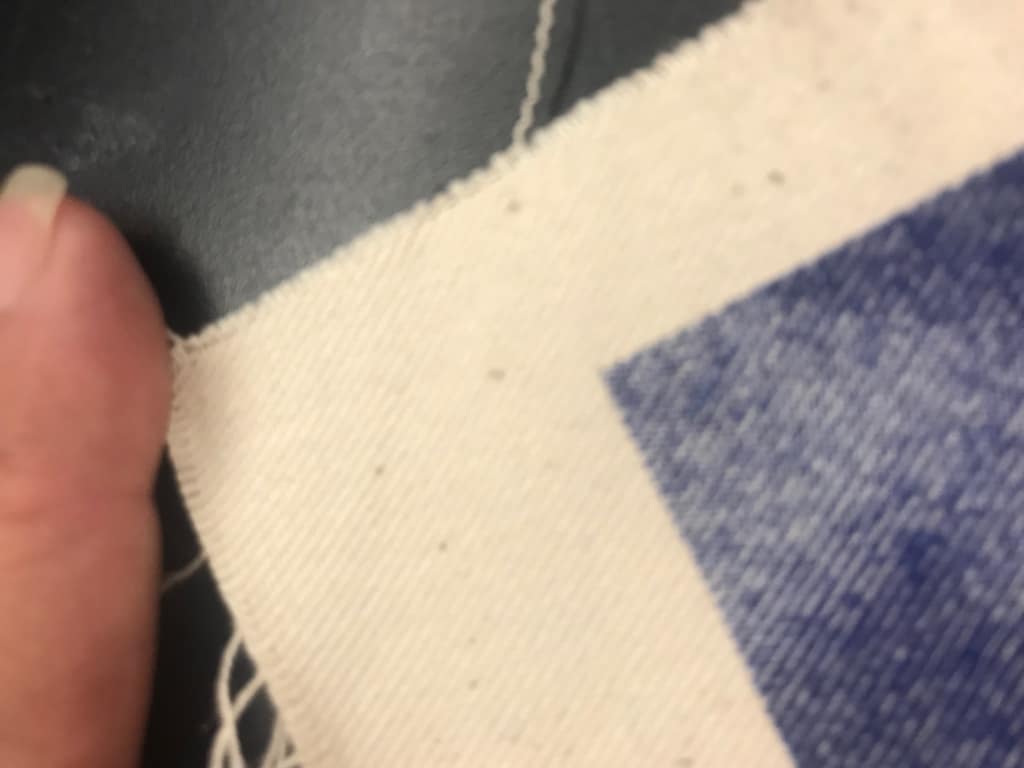
1. Make sure about placement, get a diagram from the bag manufacturer for canvas panels. Then make sure that the side you are loading to will leave you with a print that is square to all the sides.
2. For finished bags make sure your art will fit between the seams and between the handles on boat totes. On that last point, make sure you have room so the squeegees won’t ride up on the handles.
3. Make sure the bags you are going to print will fit on the platens you have. A bag 16 inches across won’t for example fit on a 16 or even 15 inch platen when you account for the platen bracket, so that 14 inch print for the 16 inch bag can’t be done when you end up going to 12 inch platens.
4. Either avoid perfect rectangles or make sure you load really damn straight or particularly with big designs or between handles even the slightest issue will be obvious.
5. Canvas can hold lots of moisture, more than you can imagine. You can’t feel this, you can only either know it was in damp conditions or by finding out you aren’t getting a cure. The moisture will evaporate and cool the surface and thereby prevent your ink from curing all the way through. We have a long gas dryer but have had to run it through blank and then twice or even three times after printing to get a good cure.
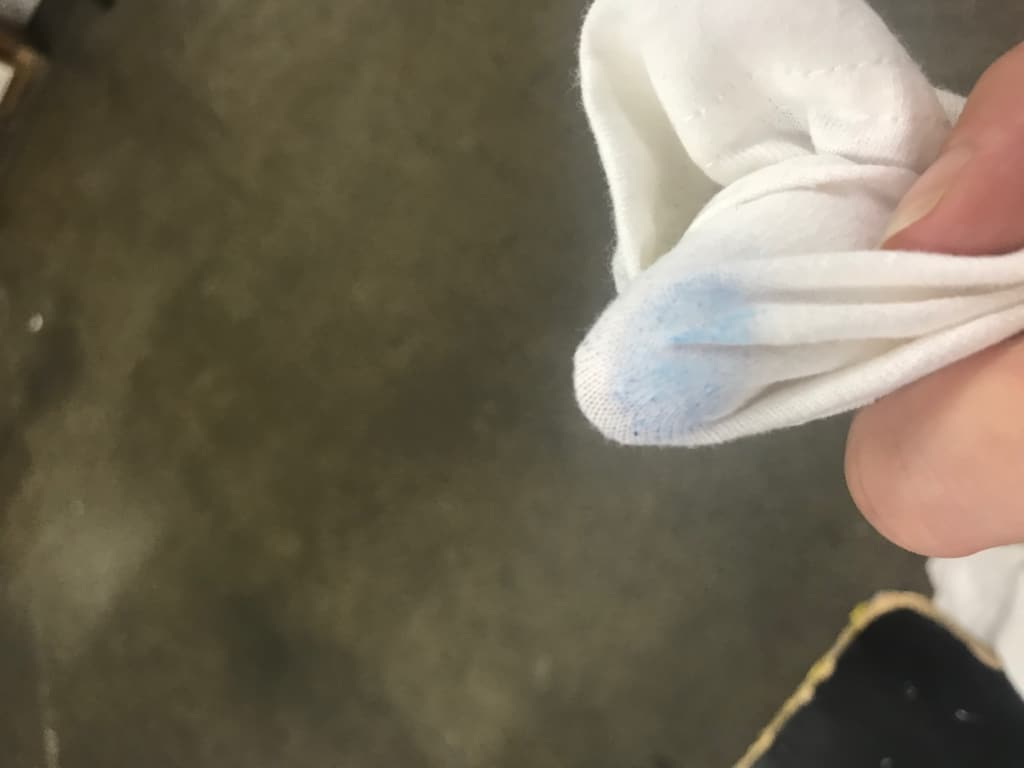
6. Sometimes inks will crock (rub off,) and you have to make sure you have a good cure. In some situations you will have to add curable reducer to make the pigment load less. Check for crock by rubbing a white t-shirt over the printed ink.
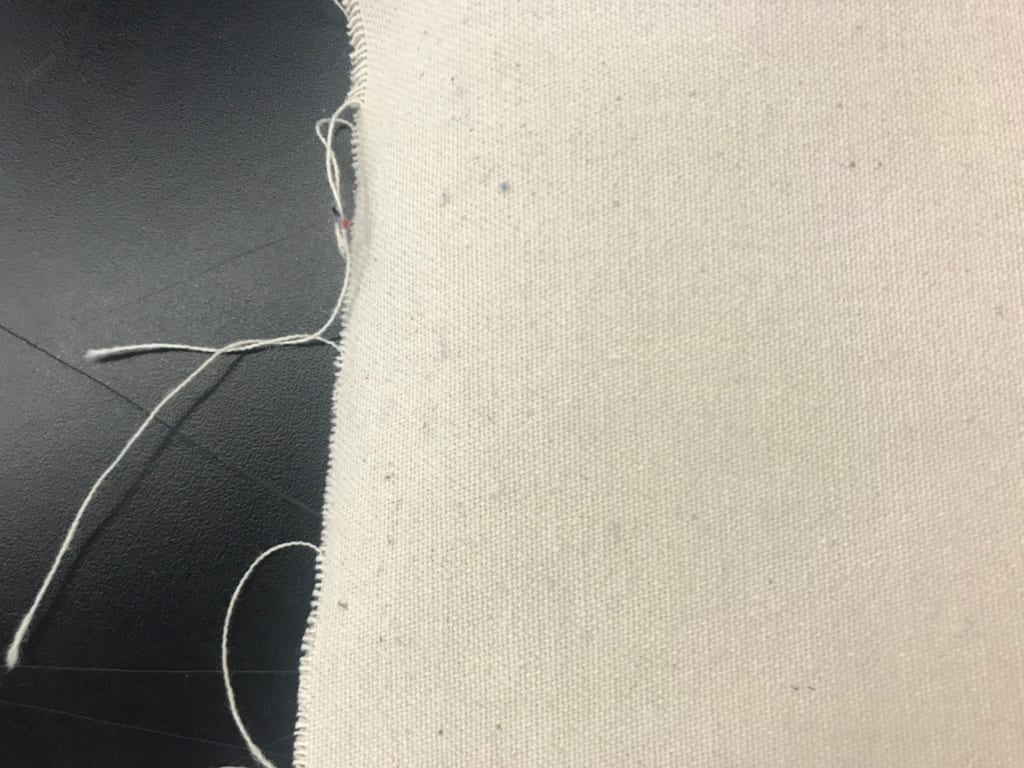
7. Make sure you are printing the correct side of canvas panels, often canvas has a smooth and a rough side.


Comments