Preparing artwork for production eats time fast, cleaning backgrounds, fixing edges, resizing to spec, and protecting distressed details. Most of us repeat the same steps endlessly: clicking, zooming, undoing, hoping nothing gets missed. Creating a photoshop script for automated artwork cleanup will simplify and speed up the process.
This article walks through a custom Photoshop script method. The script automates the tedious parts, background removal, edge cleanup, resizing, and export, while still giving you control when artwork needs a heavier hand. Think of it as your normal cleanup workflow, just faster, more consistent, and way less annoying. We started a discussion on how to do this with vibe coding last year. This scripting method is a lot more involved, but depending on how much time you spend on repetitive tasks, building a script may be ideal.
Architecture
The script works on files you already have open in Photoshop. For each one, it looks up a matching set of instructions in a simple text file. Each line tells Photoshop the order#, destination, final size, whether width or height controls the scale, and which background color to remove.
Instead of requiring exact filename matches, the script uses the number at the beginning of each filename to find the right instructions. That means you can rename files, add notes, or tweak naming conventions without breaking anything, as long as the leading number stays the same, the system works.
Color Removal
The script removes background colors in a smart, adaptive way, choosing the best method based on what kind of background it’s dealing with.
Standard Color Range Method uses Photoshop’s Color Range selection to isolate and remove background colors using RGB values and a fuzziness slider, basically the same tools you’d use by hand, just automated.
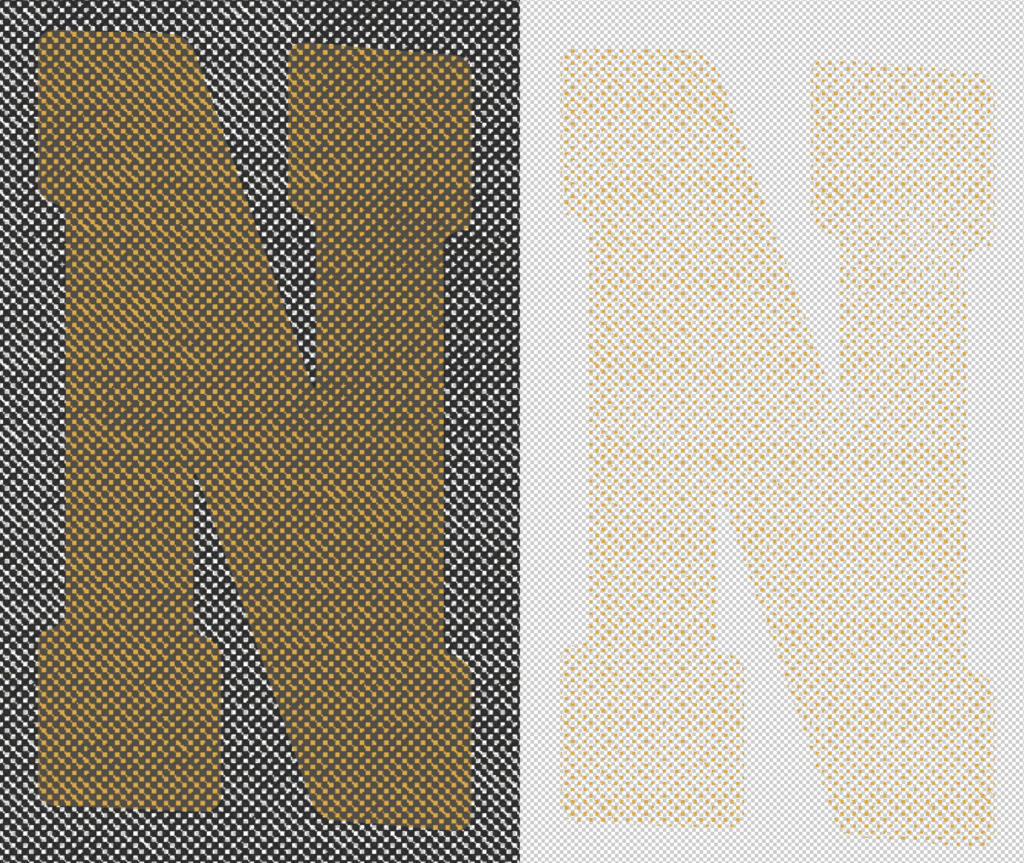
For colored backgrounds, the removeColorPrecise() process works in a few gentle passes instead of one aggressive cut. It starts tight, then gradually loosens the color range (50%, 75%, then full strength) while increasing fuzziness a bit each time (5 → 8 → 10). Once the bulk is gone, it does a final cleanup pass with a very tight color range (±5 RGB) to catch edge noise and halos without chewing into the artwork.
For gray or near-gray backgrounds, detected by isTrueGrayscale(), the script switches tactics. The removeGrayImproved() routine steps through brightness levels in small increments, using a wider RGB spread (±20) to catch those annoying “almost gray” tones that usually require a lot of manual cleanup.
Magic Wand – Heavy Distress Method
This method recreates how the Magic Wand behaves, but does it automatically and more consistently than clicking by hand.
The script builds a temporary selection by creating an alpha channel called “HexSelection,” filling it with the target background color, and loading it as a selection. It then runs Select Similar repeatedly at tolerance 32 with anti-aliasing on. This expands the selection the same way repeated Magic Wand clicks would, just faster.
Once the selection is complete, the temporary channel is removed and the selection is cleared.
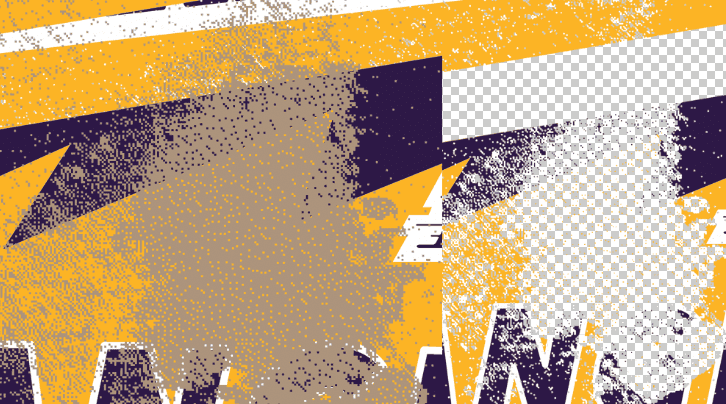
To fix the faded look that often follows cleanup on distressed artwork, the script boosts opacity. It duplicates the layer twice, merges down, and repeats, roughly a 9× density increase. This thickens semi-transparent textures and distressed edges so they print solid instead of disappearing.
Post-Removal Edge Cleanup
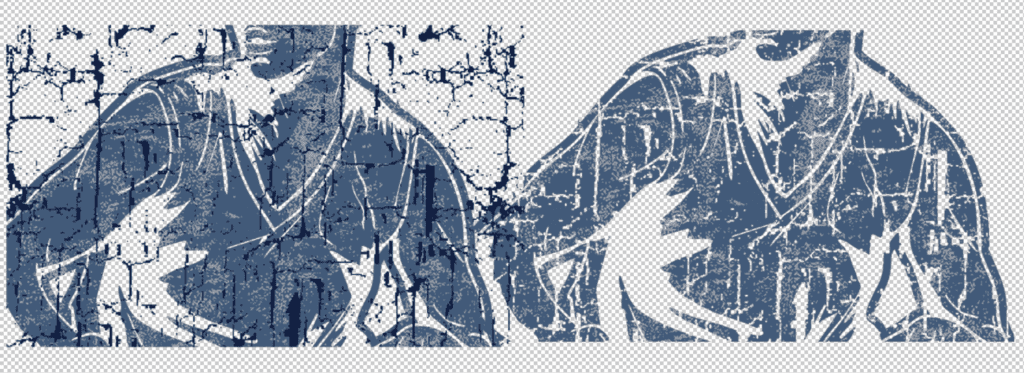
After background removal, the script runs a final edge-cleanup pass to catch tiny color fringes clinging to artwork edges. It selects the artwork using layer transparency—same as Select → Load Selection → Transparency, just automated. That selection is then inverted so Photoshop is targeting everything around the artwork instead of the artwork itself.
The selection is expanded outward, pushing into the edge area where stray background pixels like to hide, and then cleared. The result is cleaner edges with no hairline color halos, especially important for distressed art and transparent PNGs that need to print clean.
Optional Feathering
When enabled, the script adds a subtle feather to smooth jagged edges. It duplicates the artwork layer, applies a Gaussian Blur, and drops opacity to around 50%. That softened copy merges back onto the original, creating a gentle edge falloff without touching interior details.
The result: clean, anti-aliased edges that still feel sharp, especially useful for artwork sitting on varied backgrounds or garments.
Smart Trimming & Resizing
After background removal, the script trims away leftover transparent space and resizes to final dimensions using bicubic resampling. The aspect ratio stays locked, nothing gets stretched, and scales based on whichever dimension you specify. Final size is calculated at your chosen DPI to ensure correct print scale.
Interactive Mode
“Ask Magic Wand” Review Mode
In this mode, the script first runs the standard cleanup on all files and keeps them open. Then it walks through each file one at a time and brings it to the front, so you can see the result.
For each piece, the user is asked to make a call:
– Looks good? Accept the standard result and move on.
– Needs heavier cleanup? The script instantly rolls the file back to its original state and reprocesses it using the Magic Wand method instead.
This gives you control where it matters. Clean artwork stays fast and lightweight. Heavily distressed or tricky files get the more aggressive treatment, without forcing the same approach on everything.
Files take approximately 25 seconds each to process.

Comments